Auto or Automatic ISO is a function using which a digital camera can be programmed to shuffle between a range of user-defined ISO values to maintain the correct exposure as determined by the camera’s meter readings.
It’s okay if you don’t get it right away.
This particular function of the camera will need some explanation and time to get used to.
All I ask is, just give this article a read and then use it for a couple of days. You will know for yourself if this one is for you.
Introduction
To be perfectly honest, I don’t think Auto ISO is for everyone. Some people sweat their lives by it, while others just hate it like anything.
Actually, I think the last part has a lot to do with the name of the function, “Auto ISO”.
Even though many simply deny it, there is a serious stigma attached to anything that is named auto or automatic, in photography. The implication being anyone who uses an ‘Auto’ function does so because he either doesn’t understand it well enough to take the decision himself or is just plain and simple lazy.

Letting the camera, an inanimate object who has no clue what it is looking at, take crucial decisions come at the cost of artistic compromise and reduce reflection of the photographer’s actual imagination.
I am sure no one wants to be there. Even if you started yesterday.
But this ‘Auto’ function is a little different than the others. It doesn’t really let down the art of an image in any way.

Just hear me out and you can judge for yourself.
But!
First and foremost, I implore you to go and have a quick glance through this article which explains the basics of ISO.
This rest of this post will only make sense if you have understood the rudimentary principles of ISO and how it operates in the Exposure Triangle in conjunction with the other two pillars of image exposure, Aperture and Shutter Speed.
Here it is: The Last Guide About ISO You Will Ever Need
Locked and loaded, let’s get on with it then.
Basics First
To understand which part of the exposure equation Auto ISO helps replace with automatic alternatives and what impact it brings to the final image, we need to start with the fundamentals.
Let’s understand then how the camera functions, without it.
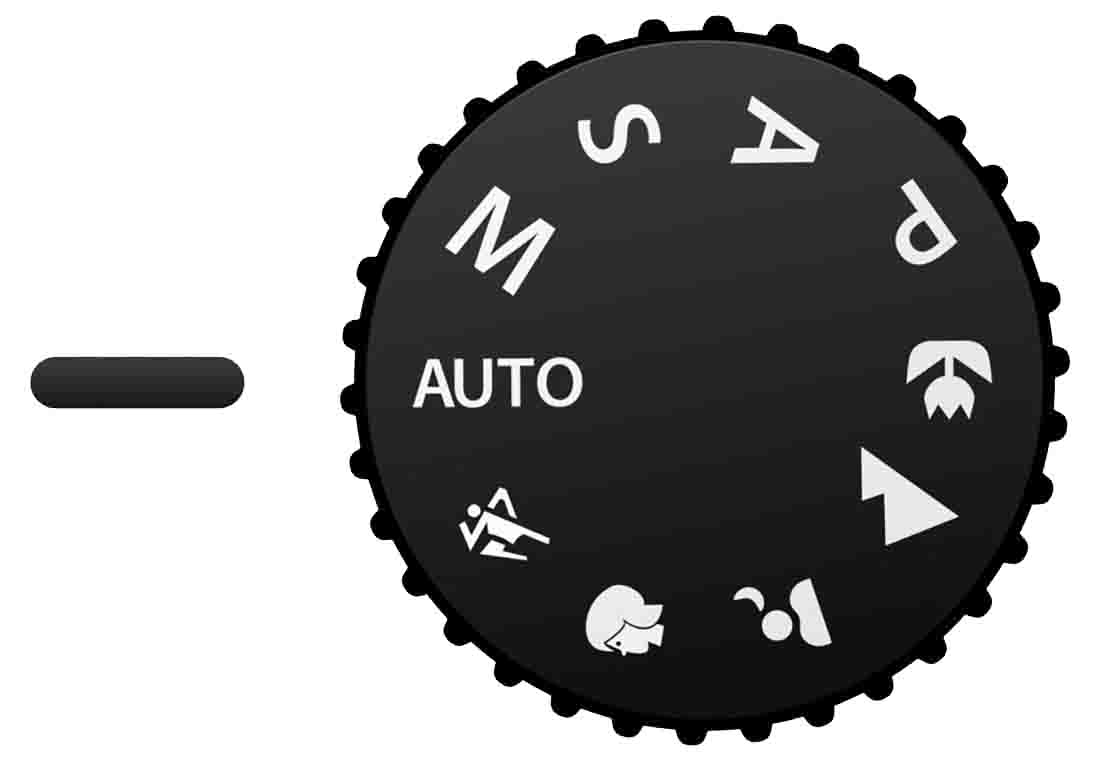
Automatic Mode
As the name suggests, in this mode, we do NOT control or manage any of the three channels of exposure. Everything, from the aperture to shutter speed, the ISO, or if there is a need for flash or not. And if yes then at what intensity, is determined by the camera and its processors alone.
If you use a DSLR or a mirrorless camera and are using this now, stop reading this. This isn’t for you.
Seriously!
For the rest of you, keep going. Good job on kicking the Auto mode out of your life, once and for all!
Aperture Priority (Semi-Automatic)
The reason why this mode is called a semi-automatic mode is because both the camera and the photographer take part in determining the camera’s exposure equation.
Each of the three channels is delegated their part, according to which they collect light to build the image.
As the name suggests, the aperture is prioritized. In other words, the aperture is given more importance than the other two channels.
How?
Well, this is what actually happens.
- The photographer chooses an aperture value that he thinks is appropriate for the shot.
- The camera then chooses a corresponding shutter speed, depending on the amount of available light.
It needs to be clearly stated here that the ISO is also needed to be chosen by the photographer manually. The camera uses the ISO selected by the photographer to subsequently base its decision for the shutter speed.
So, in effect, the photographer chooses two out of three channels when using the Aperture Priority mode.
The camera cannot make a change to the aperture when on aperture priority.
Shutter Priority (Tv in Canon)
Shutter priority or Time Value as Canon likes to call it is very similar to aperture priority.
There is just one difference.
This time the shutter speed is prioritized. Which means the photographer picks a shutter speed optimum for the shot he wants to take. The camera, based on the predetermined ISO and the amount of ambient light, chooses a suitable aperture value that would be enough to expose the image properly.
It is exactly the opposite of Aperture Priority.
It is worth noting that, here too, the photographer has to manually dial in the ISO value. The camera decides the aperture value only.
Shutter priority mode is also a semi-automatic mode since the exposure is determined by both the camera and the photographer.
Full Manual
I am sure you get the drill, but still.
Wow, that rhymed, sorry. Moving on…
Here the camera does NOT take ANY decisions regarding exposure. All the three channels need to be operated and controlled by the photographer himself.
Aperture, Shutter Speed, and ISO are all determined by the photographer alone.
The camera simply functions according to the settings set by the photographer.
Important This
Ignoring the first fully Automatic mode, where the camera takes all the decisions, the photographer always manually chooses at least two of the three channels of exposure.
What Auto ISO proposes to do is take away the ISO part and let the camera decide it as well.
Is that a good idea though?
That is all we are here to see. Let’s find out.
Enter Auto ISO
In most cameras under the shooting menu, the camera allows the photographer to select a maximum ISO level and a minimum shutter speed.
The idea is very simple.
The maximum ISO level dialed in by the photographer is the upper ceiling up to which the camera has the liberty to pump up the ISO, if required.
The minimum shutter speed, on the other hand, is what the camera must maintain on its end.
I know it’s still not very clear.
Let’s take up an example and define it a little more.
Before proceeding, just know that this is what I assume:
- The fastest shutter speed the camera allows is 1/8000th of a second
- The lens used has the aperture value range from f/2.8 to f/22
- Maximum Auto ISO specified is ISO3200
- The camera has a minimum native ISO value of ISO100
- The minimum shutter speed for Auto ISO is selected as 1/100th of a second
Aperture Priority + Auto ISO
Earlier, I briefly discussed how the Aperture Priority mode operates without the Auto ISO function.
Let’s now have a look at how things change as we introduce Auto ISO into the equation.
- Like before, the photographer has to first select an aperture value.
- The camera then selects a corresponding shutter speed and also the ISO, so as to expose the image properly.
But there are some rules that it has to adhere to:
- The camera cannot select an ISO value larger than the maximum ISO already defined by the photographer.
- It also has to maintain the minimum shutter speed the photographer selected.
Have a look at the table below.
| Aperture | Shutter Speed | ISO | Notes |
|---|---|---|---|
| f/2 | 1/800 | 100 | ISO cannot fall anymore. Shutter speed rises to maintain exposure |
| f/2.8 | 1/400 | 100 | ISO cannot fall anymore. Shutter speed rises to maintain exposure |
| f/4 | 1/200 | 100 | ISO cannot fall anymore. Shutter speed rises to maintain exposure |
| f/5.6 | 1/100 | 100 | Beginning Point |
| f/8 | 1/100 | 200 | Minimum shutter speed of 1/100th of a second has to be maintained. ISO is pumped up to maintain exposure. |
| f/11 | 1/100 | 400 | Minimum shutter speed of 1/100th of a second has to be maintained. ISO is pumped up to maintain exposure. |
| f/16 | 1/100 | 800 | Minimum shutter speed of 1/100th of a second has to be maintained. ISO is pumped up to maintain exposure. |
It might still look a little jumbled up.
Let me guide you through the paces so that you get into the flow.
Forget everything else and look at the 5th row. The beginning point. To achieve the correct exposure, the settings needed are:
Aperture: f/5.6, Shutter speed: 1/100th of a second, and ISO: 100
We start with this.
Imagine you are the photographer and you somehow choose the above settings.
You take a shot and you find that there is just too much depth of field. A lot is covered with the focus. You would like to reduce the depth of field to increase the subject-background separation.
Say you move down to f/4. Now, f/4 allows a full stop more light than f/5.6. In other words, the amount of light that enters the camera now is double of what it was at f/5.6.
If no other settings are changed at this point, the resulting image will be overexposed by a stop.
But you are on a semi-automatic mode. The camera wouldn’t allow the image to be overexposed. So what it does is double the shutter speed to counteract the extra light. With the shutter speed twice as fast as before, the amount of light entering the camera is halved again.
Hence the same exposure (as was with the settings – Aperture: f/5.6, Shutter speed: 1/100th of a second, and ISO: 100) is restored. The amount of light entering the camera remains the same, just the channel through which it reached the camera sensor changes resulting in a different artistic feel. In this case, a reduced depth of field.
The exact same thing happens when the aperture value is dropped further to f/2.8 or f/2. The camera being on a semi-automatic mode, simply compensates for the extra light by increasing the shutter speed.
The ISO value remains constant at ISO 100 in all this change since
- the amount of light continuously increases as you decrease your aperture value;
- you are already on your lowest ISO value.
Note
One very important thing to remember here is the concept of ‘first handle of adjustment’. What I mean by this is the first setting which is changed by the camera when either the light changes or the input setting is changed by the photographer.
In the above example, for aperture priority mode, the first handle of adjustment is the shutter speed.
The camera always tries to maintain the same level of exposure using the shutter speed. Only in the event of insufficient shutter speed to regulate the exposure, is the ISO channel used.
Had we not set the minimum shutter speed at 1/100th of a second and selected 1/50th of a second as the minimum value when the aperture value is increased from f/5.6 to f/8, the shutter speed would have been dropped first to 1/50th of a second. The ISO kept constant at ISO100.
![]()
The only reason the ISO value is pumped to ISO200 in the 6th row is because the camera has to maintain a minimum shutter speed of 1/100th of a second. Hence, the only latitude left for the camera to control is the ISO value which it actually uses.
The camera does NOT change the aperture value under any condition since that is the what is prioritized.
Aperture priority, remember?
Shutter Speed + Auto ISO
If you have understood the aperture priority case, this wouldn’t be very difficult.
Let’s have look at another table but this time with the shutter speed as the input variable.
| Aperture | Shutter Speed | ISO | Notes |
|---|---|---|---|
| f/2.8 | 1/1600 | 200 | ISO is increased as the aperture value can no longer be used to maintain exposure. |
| f/2.8 | 1/800 | 100 | Increase in Shutter speed is compensated by a fall in aperture value. |
| f/4 | 1/400 | 100 | Increase in Shutter speed is compensated by a fall in aperture value. |
| f/5.6 | 1/200 | 100 | Increase in Shutter speed is compensated by a fall in aperture value. |
| f/8 | 1/100 | 100 | Beginning Point |
| f/11 | 1/50 | 100 | Fall in the shutter speed is compensated by the rise in aperture value. |
| f/16 | 1/25 | 100 | Fall in the shutter speed is compensated by the rise in aperture value. |
| f/22 | 1/13 | 100 | Fall in the shutter speed is compensated by the rise in aperture value. |
| f/22 | 1/6 | 100 | Image overexposed since the exposure cannot be maintained any further using either the aperture value or the ISO |
The first thing that you should notice here is that the minimum shutter speed is NOT taken into consideration anymore. Since the camera is on the shutter priority mode, the photographer is the sole person deciding the shutter speed.
The camera just reacts to the shutter speed dialed in by the user and suggests a corresponding aperture value.
The first handle of adjustment, in this case, is the aperture value. The ISO is touched only when the aperture value can no longer be adjusted.
The example of the instance above is in the first row where the camera cannot lower the aperture value any longer since it is already on the lowest aperture value the lens allows, f/2.8. As the shutter speed is further increased by a stop, the ISO is bumped to ISO200 to keep the exposure constant.
There is something interesting going on at the opposite end of the table as well.
The bottom row shows an aperture value of f/22, shutter speed 1/6th of a second, and an ISO100. As mentioned, using these settings for the camera is going to overexpose the image.
Let’s understand why…..
As you remember the first handle of adjustment, in case of shutter priority, is the aperture value. That is the camera uses the aperture to control the exposure as the shutter speed is changed by the photographer.
We start with a shutter speed of 1/100th of a second. The camera suggests an aperture value of f/8 and ISO100.
As the photographer drops the shutter value, more and more light begins to enter the camera.
Every stop of light added doubles the amount of light. To account for this extra light and to maintain the same exposure, the camera increases the aperture value (first handle of adjustment).
But there is a limit till which this can be done.
The maximum aperture value the lens supports is f/22. Hence, the camera simply cannot go any further than that.
Come back to the table again. Look at the second last row. For a shutter speed of 1/13th of a second, the camera chooses the highest aperture the lens offers, i.e, f/22. There is no point changing the ISO at this point since it is already at its minimum.
Next, when the photographer further drops the shutter speed to 1/6th of a second, the camera has no way to adjust. The two latitudes it has, aperture value and ISO, are already exhausted. It cannot do anything to affect the exposure any longer. Since a ton of light is coming in and there is no way for the camera to stop it, the image is overexposed at this point.
I hope you got it this time.
Manual Mode + Auto ISO
This is by far the most interesting and flexible setting that you can use.
As you already know in the manual mode, the user is in TOTAL control. He controls all THREE of the exposure channels.
But using Auto ISO changes that equation a bit.
Now, the photographer chooses a shutter speed and an aperture value and the camera selects the ISO for him so as to maintain the exposure.
Get this is once and for all. Every change the camera makes in whatever setting you use is always to get to the ‘correct exposure’ as determined by the camera’s light meters.
In this case, the camera can just play with the ISO and it does it to stay on the correct exposure.
Let’s draw up a table now.with
| Aperture | Shutter Speed | ISO | Notes |
|---|---|---|---|
| f/5.6 | 1/120 | 100 | No change in aperture. Drop in shutter speed adds a stops of light. Camera drops ISO to ISO 100. |
| f/5.6 | 1/250 | 200 | Change in aperture and shutter speed adds 2stops and 1stop of light, respectively. Camera drops ISO 3stops to counteract extra light. |
| f/11 | 1/1000 | 1600 | Beginning Point |
| f/16 | 1/1000 | 3200 | Change in aperture cuts off a stops of light. Shutter speed constant. Camera bumps up the ISO by a stop. |
| f/16 | 1/2000 | 3200 | Image underexposed at this point since the drop in a stop of light due to the increase in shutter speed cannot be compensated by an increase in ISO. |
To understand the table the best, start at the middle row, the beginning point and move in either direction.
Going Up
As the aperture value is dropped to f/5.6 from f/11, the camera receives one full stop of extra light. The drop in shutter speed, on the other hand, add two more stops.
If you have any difficulty following me and calculating the number of stops of light in between, read this article. It should give you a very clear understanding of how to do this fast in your mind.
Circling back now.
So the camera has to somehow account for 1+2 = 3 stops of extra light coming in due to the change in aperture and shutter speed. The camera only has the ISO under its control, so it drops the ISO by 3 stops to ISO200, to adjust for it.
Next, we come up to the first row.
This time the aperture remains constant but the shutter speed is dropped further to 1/125th of a second. So another stop of extra light to deal with. The camera reacts by dropping the ISO to the camera’s minimum ISO100.
Going Down
Moving down the table from the beginning point is pretty similar.
In the first row below, the aperture is increased, which causes a loss of a stop of light. The shutter speed remains the same. The camera simply boosts the ISO to ISO3200 to account for it.
The next row is a little interesting. This time the aperture is kept constant at f/16 but the shutter speed is bumped to 1/2000th of a second. This results in a further loss of a stop of light.

The camera has no option at this point of time other than just letting the image get underexposed since the maximum ISO set by the photographer at the beginning was ISO3200. The ISO remains at ISO3200 as in the previous row and the image is underexposed by a full stop.
I told you this was simple stuff!……..Didn’t I?
Oh yes, Auto ISO doesn’t really make a difference when you are using the full Auto mode since you already relinquish all the decision making to your camera.
A Case For Auto ISO
We photographers of the digital era always seem to recall three distinct pillars of the exposure triangle:
That’s, in fact, true but what we miss very often is how lucky we are that we get to change all or any of the three channels of the exposure triangle, at the drop of a hat.
You can literally change it every shot you take.
This wasn’t the case in the film era.
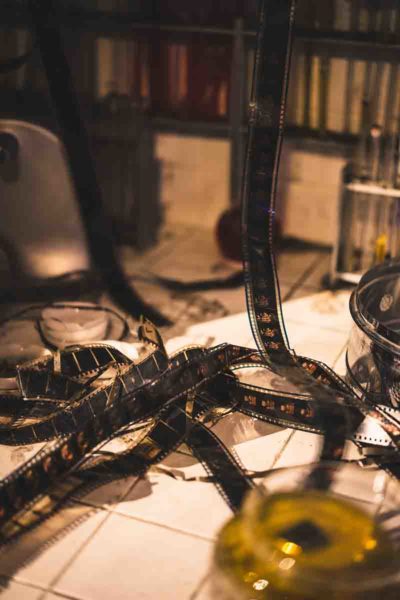
Photographers did have three latitudes to change and affect the exposure of a shot, but there was much less freedom with which they could exercise these essentials.
Let’s take up the case of changing ISO.
Today you pick up ANY digital camera. Point and shoots, cell phone cameras, it really doesn’t matter. You get, right out of the box, the ability to choose different ISO values for every shot you take. Since ISO, in digital cameras, is nothing but light sensitivity of the image sensor, it can be changed as frequently as one wishes.
Comparing this with the film era, the photographer had to select a specific film of a particular ISO/DIN value.
Once he makes the choice, the photographer had to stick to it until the film roll runs out which was, in most cases, about 36 shots.
So basically you had to choose an ISO value that would fit the next 36 shots. That is easier said than done.
Now we just have to flick a switch to turn the ISO up or down.
A Little Deeper
I spoke about how the Auto ISO gets a bad reputation simply because it has ‘Auto’ in its name.
Anything and everything that is not manually set and determined by the camera is thought of as sub-par and useless by many circles of photographers.
When in the early ’90s, the first AutoFocus camera came in, many people had similar opinions about it too.
“Nothing like manual focus”, they said.
Which was probably true for that period since cameras with AutoFocus in those days were truly unreliable and a bit jittery. I get it.
But as time went by, the AutoFocusing systems got better and better. By the time Phase Detect AutoFocus came to town, it was unmistakably much more superior to manual focus. Canon’s Dual Pixel AutoFocus is simply a marvel if you ask me.
The stigma of AutoFocus eroded with time. Many professionals now not only use it extensively but bank on it to get the shot they want.
I don’t think there is absolutely anything wrong with ‘Auto’ unless you, as the photographer, relinquish the most important aspect of photography for the camera to decide.
Your images should be able to mirror your imagination. That is all I care about. If some ‘Auto’ feature of the camera helps me get there, well I am going to use it, left right and center.
Auto ISO, in my opinion, is such a setting.
If you read the post I wrote about the fundamentals of ISO, you will find that I have explicitly said that ISO should only be used as the third wheel.
For introducing any look and feel to the image what you should always look up to are the aperture and shutter speed. ISO acts only as a filler setting, used to get to the proper exposure efficiently.
That is also the reason why I asked you to think about it last.
Boosting the ISO or reducing it doesn’t make any possible change to a particular image other than making it brighter or darker. It’s nothing more than that….period!
So why would I not think of outsourcing that to the camera?
Mental Horsepower
Like Sherlock Holmes, I believe that a human mind is like a room with a proper definition and volume. You simply cannot stretch or pull its walls. Over time you may increase its capacity to contain more things but there is absolutely no point in stuffing it with useless furniture.
Every time you pull up the camera to your eyes, you need to go through a few decision-making steps to capture the image like you want it to be.

How much depth of field? Who to focus on? How to frame it? Use or not use flash,…etc.
If there is one decision that I think of as the most important one and something that stands out for me, it would be the decision about composition.
So I want to focus on making this decision as quickly and as accurately as possible, every single time. All the other decisions I make are for making it work with the composition I have in mind.
If for a certain type of image I can safely outsource the decision making for the ISO to the camera, I would happily do it. That is one less decision for me to make, which tantamount to me focusing even more on composition.
Having said that, I also need to qualify that statement by saying that there are certain situations where Auto ISO can seriously have an adverse effect on the image. Barring those few instances, Auto ISO for me is a good choice to explore.
I will discuss those situations right now. Hold on.
How To Set It Up
If you are happy to choose Auto ISO or at least willing to give it a whirl and see for yourself, here is how you set up your camera to do it.
Choosing Max ISO and Min Shutter
Every camera is different and so are people. There is no right answer to this question. The maximum ISO that you should choose depends on two primary aspects:
- Your camera’s capability to handle high ISO values
- Your feelings about the images the camera produces at those ISO levels
If your camera, like the modern Sony mirrorless cameras, is a beast at high ISOs, you can set it up for some astronomical figure and not even think about it. But if it doesn’t handle too well any ISO beyond ISO1000 or you feel that the images that come out, by using a value more than ISO1000, are not good enough or noisy you can stick the max ISO to be 1000.
Minimum shutter speed on the other hand, is dependent on the subject you are to shoot. It’s actually dependent on two things
- The degree of camera shake present OR
- Subject motion you anticipate or both.
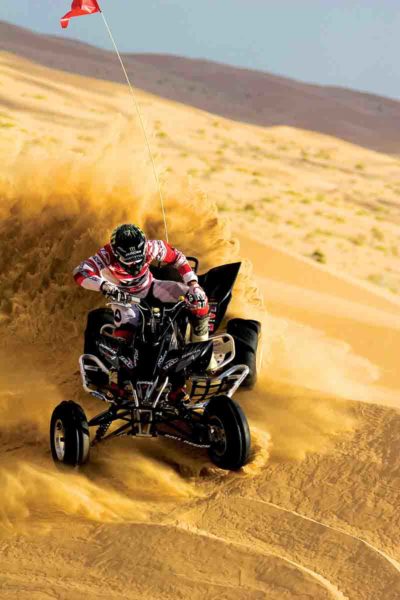
For example, if you are on a bus and trying to get shots of landscapes passing by, you would need a fast shutter speed (about 1/1000th of a second) to stop the image from being a blurry mess. The same principle applies if you want to shoot some birds and want them to be tack sharp, wing to tip.
The first instance is one where you may have to deal with a lot of camera shake and in the second one you have a lot of subject motion with the flying birds.
So depending on what you are shooting, choose your shutter speed accordingly. There is no one size fits all for this.
When To Use
The best situations to use Auto ISO would be those when you have to shoot subjects in different lighting conditions in quick succession.
Like, say a football game.
The entire match is happening out in the sun but very often you turn towards the dugout in the shade and take candid images of the players and their reactions. Auto ISO may help you a ton in this situation. You can just select a high enough shutter speed and then just let the camera take care of the rest.
Whenever you find light changes, think Auto ISO.
When Not To Use
One very important thing to remember here is that Auto ISO is always bent upon matching the exposure equation so that the image is properly exposed. That is the end goal as far as the camera is concerned.
All the camera cares about is getting the exposure. Whenever it finds a gap in exposure, it will try and fill it up with the ISO.
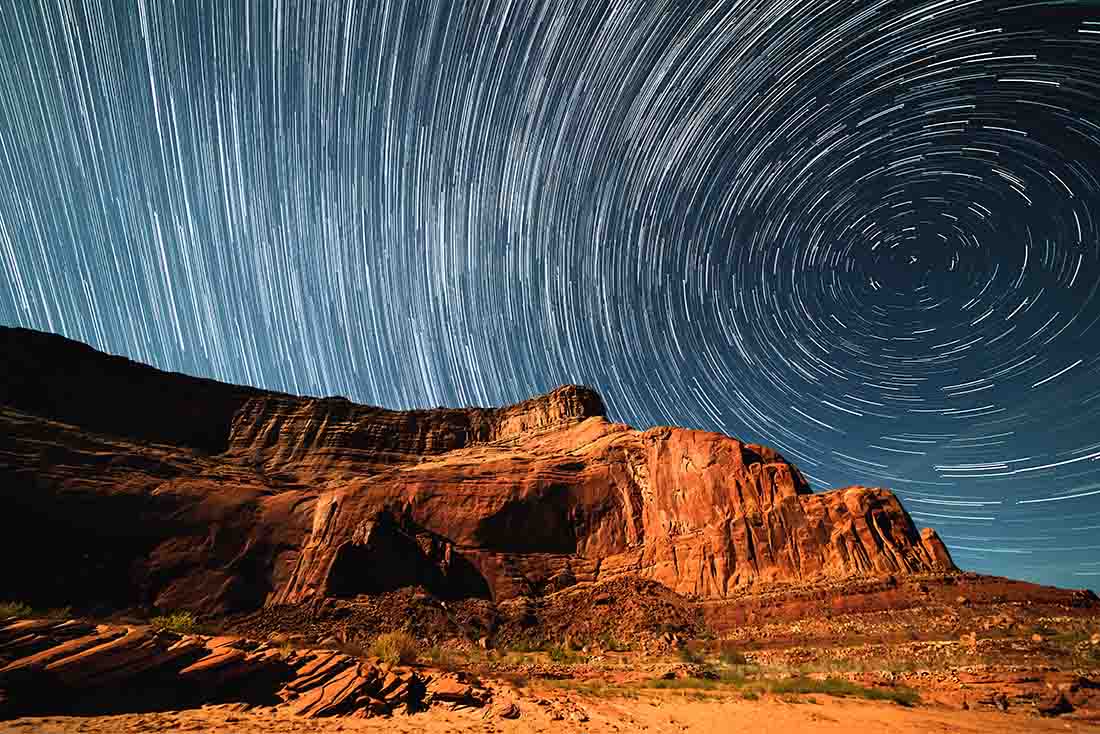
Creative shots like star trails, silhouette photography, astrophotography. Or the ones which are intentionally under or overexposed for artistic purposes will not be a good match for Auto ISO.
There are other instances like camera panning, where you want to slow down the shutter speed to introduce some motion blur in the image and give a sense of movement. Using Auto ISO may not be a good choice since the camera may end up not letting you select a slow shutter speed at all.
Normal images which do not take much creative liberties are the ones where you can use the Auto ISO as much as you want.
Bonus Bonus
Auto ISO is not just a function that you use for shooting still images. You can use it for videos as well.
The same drill as before.
Light changes in the same shot from start to finish?
Unless you use Auto ISO, you have to constantly fiddle with the settings to get the exposure right. It is not a very elegant process or an advisable thing to do.
Exposure vs Composition, I would forever try to focus on the latter.
If you are interested to start learning about how to shoot videos with your DSLR or Mirrorless camera, this might help you out, How To Start Creating Videos With Your Compact Camera | Starter Guide
Conclusion
I would like to say once again that Auto ISO may NOT be everybody’s piece of cake. Just like Back Button Focus, it is all about preferences and how one chooses to play with the settings panel to get the shot.

Get the shot; yeah for me that is all that matters.
If you somehow want to choose a different way to select your settings but get the image in the end, by all means, do it.
That is all folks. If you have read through the entire article and are here now, I would assume that you are seriously considering using it. I would strongly urge you to at least use it once and then decide for yourself.
Don’t just reject it just by looking at the name, like many people do. When you do get a brilliant image, NO one is going to care about the settings and camera you used to get the shot.
And who knows, maybe you may end up liking it.
Let me know what you decide and if at all this particular feature helped you in getting the images you wanted.
Keep shooting amazing.
This is now a teeny tiny blog trying to compete with the big guys. If you liked what you read, please take a second to share it. It would help me a lot. Thank you.
Hand Picked For You
 ISO is actually NOT an acronym. It is a word which is pronounced "Eye-So". It is...
- Manual Mode is made to look much more difficult than it actually is. Here is a s...
- In the world of photography, you really wouldn't see T-stops used in many places...
- It is a pity that most people miss the incredible gift that is the custom settin...
- Neutral Density filter or ND filter is a solution for situations when the light ...
- People live in fear of the Manual Mode all their life, never looking at it close...


