In the blink of an eye.
Isn’t that the expression that we, photographers, can associate with photography the most? After all, all photographs are nothing but a simple recording of light that spans only a fraction of a second.
That is if you consider Long Exposure Photography in a different category altogether.
But I digress. Let me get back to the topic of the day.
This post is about a quick tip that I think is potent enough to help both photographers and videographers alike.
It might seem to be a very small and insignificant thing at first but if implemented properly and used to its full potential, this can be a complete game changer.
Shaving Seconds
Any photographer worth his salt is almost certain to tell you how valuable a single second is when on a shoot. It could be the difference between a missed shot and a hit.
It is no wonder hence that camera gurus all around the world ask their students to spend time with their camera gear and know it as well as they possibly can.
The camera in a perfect world should act as an extension of the photographer himself. Resulting in the least amount of time delay in between visualizing a shot and actually taking it.
Creativity and vision do not care about camera bodies, lenses, and tripods. And that is how they should be….wild. Never be held back by the lack of prowess of your present gear.

So how do we save precious seconds when on the job and use it to create greater opportunities for ourselves?
Dedicated Buttons
Buttons on the camera body dedicated for one purpose and one purpose only is probably the fastest way yet to change a setting.
Want to change the ISO? Just press the ISO button on the camera and rotate the camera dial to vary it effortlessly and with ease.
Changing settings on the fly and that which does not require you to remove your eyes from the viewfinder is the holy grail.
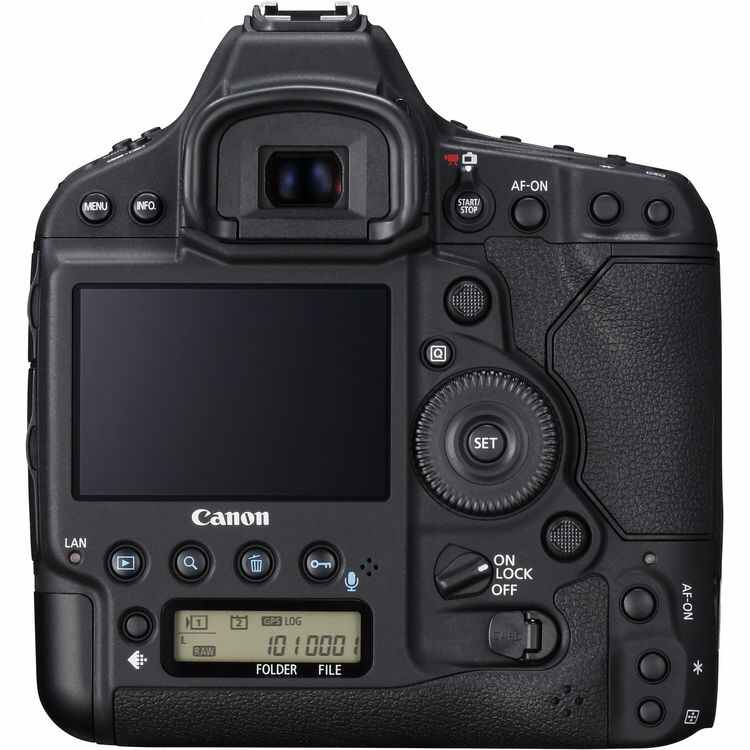
It is no surprise then that nearly all “Pro” camera bodies are littered with dedicated buttons for every function imaginable. All of them serve a single purpose, reduce time delay that would otherwise be caused while navigating through pages of menus and sub-menus.
If you haven’t spent a fortune on your camera, now you know why you spend most of your shooting time pressing the menu button.
Hastening It Up A Notch
So how do we mere mortals, who do not have pro camera bodies, switch our settings faster than an eagle could swoop and never miss a shot again?
It’s simple, we create a dedicated button of our own.
How is that for a change?
Most modern camera bodies today have this functionality built within them but only a few use them to their full potential.
On Canon bodies, they are marked as C1, C2, C3 buttons on the mode dial. On Nikon bodies, they are named as U1, U2, etc.
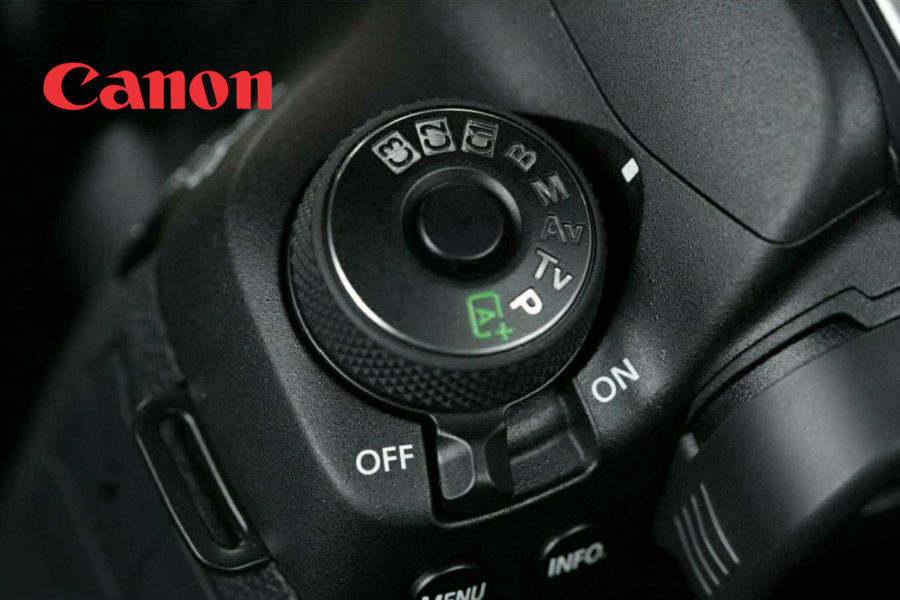
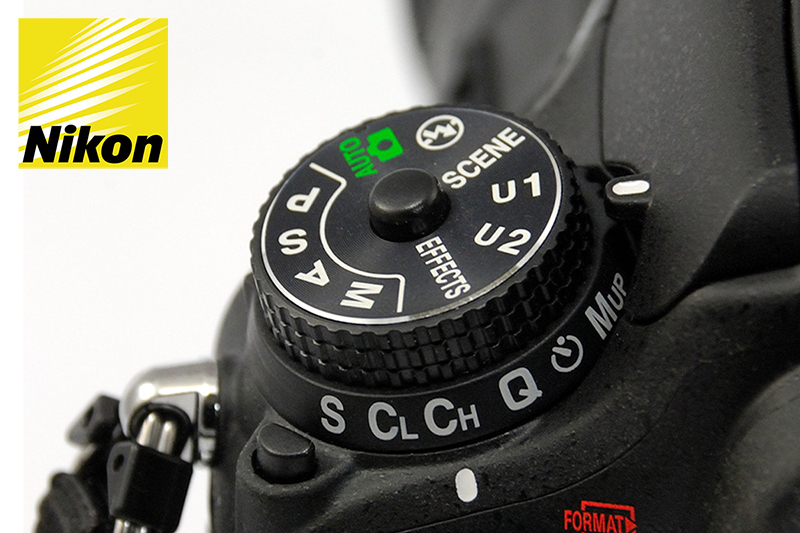
They are exactly the same in both the cases, just different terminology.
You may remember some time ago I showed you how you can reprogram a different button on your camera to focus other than with the shutter button. This is called the Back Button Focus method.
If you want to know how to reprogram your camera to use the Back Button method, this article will get you started in no time: Back Button Focus | Control Your Autofocus Like You Never Have. I would highly suggest you read this once, might change the way you shoot forever.
Setting up the Custom Settings on your camera is quite similar to Back Button Focusing but not the same.
This time around we will use the Mode Dial of the camera to save a set of preferences we like so that we can change critical setting on our cameras at a moment’s notice.
I will discuss the procedures to get started with camera bodies made by Nikon and Canon.
The process, however, is very similar for other manufacturers like Sony, Panasonic, and Fuji.
In The Flesh
Here is what the bare bones of the process is like.
- Step 1: Dial in all the setting you use most often and might need to switch to at a moment’s notice. This list may include anything and everything that you can possibly want to change. From the shooting mode to picture style, not to mention the essential three: shutter speed, aperture value, and ISO.
- Step 2: Once you are happy with the settings, save the settings using the menu tabs (don’t worry, I will discuss the process in a minute) onto a custom position C1, C2 (Canon) or U1, U2 (Nikon).
And voilà. Now you can just at the turn of a dial switch to your favorite settings. No more chimping over your camera and furiously turning dials and pressing buttons while all the action in front of you dies down.
It is more or less like custom profiles on your phone. Where you can save a bunch of settings like wifi, ringtone level, etc onto a single profile. The moment you engage it, many different settings change simultaneously without you having to go through all of them manually.
Neat, isn’t it?
Do You Even Need It?
The answer to this may vary from one person to the other but for most people, it is a resounding Hell yeah!!
And I have to agree that I am guilty of it too.
Honestly, I see no reason NOT to use it. It’s there anyways on your camera’s mode dial. You cannot remove it even if you wanted.
You cannot repurpose it to use it for something else too. So why not use it for what is it is meant to be and make the most of this amazing function.
Well unless you never need to change settings at all and use the ‘Auto’ mode instead. My suggestion to that is, please don’t!
For the love of God, just STOP!
Making A Case For It
I regularly use custom settings on my camera and often change them too depending on what I am shooting that day. Here are a few instances where I think this incredible feature really shines and makes a difference:
Photo to Video: To and Fro
This is the most obvious and the most likely use of the camera custom settings. Everything in our lives today is meant for multitasking. Gone are the days when one device did just one thing. I really miss those days though.
Anyhow, playing to the same tune, all our cameras have also evolved. Nearly all DSLR and Mirrorless cameras sold today have equally exceptional photo and video qualities.
So it is natural that people need to switch between them ever so often.
Taking still photos need very different camera settings than video. For instance, a portrait might need the following camera setting. Say, shutter speed: 1/100th of a second, aperture: f/2.8, ISO: 100.
This is very different than what you need for a video.
If you want to shoot a film at 24 frames per second, the suggested shutter speed is 1/50th of a second. You may also want to close down the aperture a bit too to accommodate a little more depth of field in your shot, say f/8.
Now you tell me.
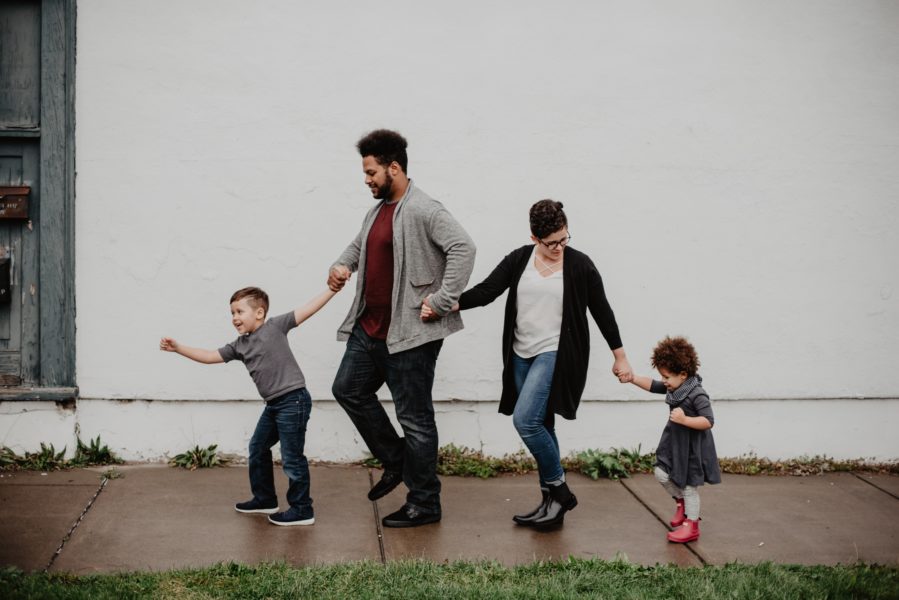
Say if you went to the park with your family and are carrying your camera with you. Would you seriously want to switch between these settings constantly while your children are probably swinging from your arms?
Photo to Photo Switch
You may need the custom setting on your camera to switch between two sets of settings for just photos too.
Let’s take a practical situation. Say you are shooting a football game.
Yeah, that’s tough.
One moment you are shooting a player who is standing still in the frame while just the next second he might be darting towards the other side of the field at breakneck speed.
You might prefer one set of settings for a particular type of image and want to cycle through them when you want. The camera custom setting is how you can possibly match the speed that your goal requires.
If you have any other faster/easier way to do this, please do let me know in the comments below. I would love to learn.
Video to Video Switch
It’s the same deal with video too.
Different styles of video need different settings to shoot. A very easy example where this might be useful is while switching from shooting regular video to slow motion video. Where you need to change to a higher frame rate.
Custom settings make this switch a breeze. If you had to do it manually every time, it would be really really frustrating and sometimes not even remotely feasible.
But if you have a set of specific settings you like to shoot your slow-motions in, all you have to do is flick a dial and you are on, ready for the action to unfold.
Change In Lighting
This situation also lends itself beautifully to the use of the custom camera settings.
I believe you already see it this time.
Say you have a shoot which requires you to shoot frequently between indoor and outdoor situations. To make matter worse, you cannot plan it. It just happens spontaneously and without any prior notice. Wedding photography anyone?
Setting two different custom settings for the two very different lighting situations may be your only chance to grab some good shots this time.
How To Do The Deed
Okay before I forget to tell you how to actually save preference to the custom settings (C1, C2 / U1, U2) and call them when required, here they are.
My friend Dave Vickers and Austin Felix have created the following two video tutorials where they explain at length the steps you need to follow.
Just do as they direct and you will be up and running.
Nikon Tutorial:
Canon Tutorial:
Note: The one thing that I would advise against doing especially in Canon bodies is to enable the ‘Auto Update Set’. When this is activated, every time you change settings within the custom settings menu the saved settings continuously update to the last settings.
In other words, it only remembers the last set of settings you used when either C1, C2, or C3 was employed.
This might lead to some confusion since it might be difficult to keep a track of the last settings you used.
For me personally, I feel more comfortable saving just a set of settings and keeping it that way. I change it manually only when needed. This allows me to always know what the camera setting would change to when I turn the dial.
In Nikon, the ‘Auto Update Set’ is not available in most bodies so Nikon users need not worry much.

Conclusion
I am sure there are myriad other creative uses you can come up with using the amazing custom settings mode on your camera.  Think of them as magic portals which you can use anytime you want.
You just save a couple of them on the to camera and then it’s there whenever you need it.
Even when you do not require that exact specific set of settings you saved, you can still use the dial to get to it as close as possible and then make minor adjustments to reach your desired settings.
The examples I used earlier are a little extreme where choosing the right set of settings quickly may be the difference between a shot or a miss.
Even when the situation is not so volatile, you can use this humble function to just make minor changes which you frequently use and go back and forth in between. Your shooting session will not only be a lot smoother but you will also be able to focus on more important aspects of photography such as composition and timing.
All I can ask you now is to give it a try and see if you happen to like it.
You can always switch back if you don’t.
Keep shooting amazing.
Hand Picked For You
 Lens mount is an interface which helps connect a camera body with a compatible l...
- A fully charged battery and the correct firmware is all you need to update your ...
- Understanding image exposure and the maths behind it is the bedrock of photograp...
- The Looney 11 rule really makes shooting the moon easy and straightforward. For ...
- People live in fear of the Manual Mode all their life, never looking at it close...
- In the world of photography, you really wouldn't see T-stops used in many places...


