Okay, this is just to let you know that this post is in response to my readers who said that my previous post about shooting in Manual Mode was a little too hard for them to understand and asked me if I could make an easier version of it.
So, here we go again. Manual Mode lite.
What is Manual Mode?
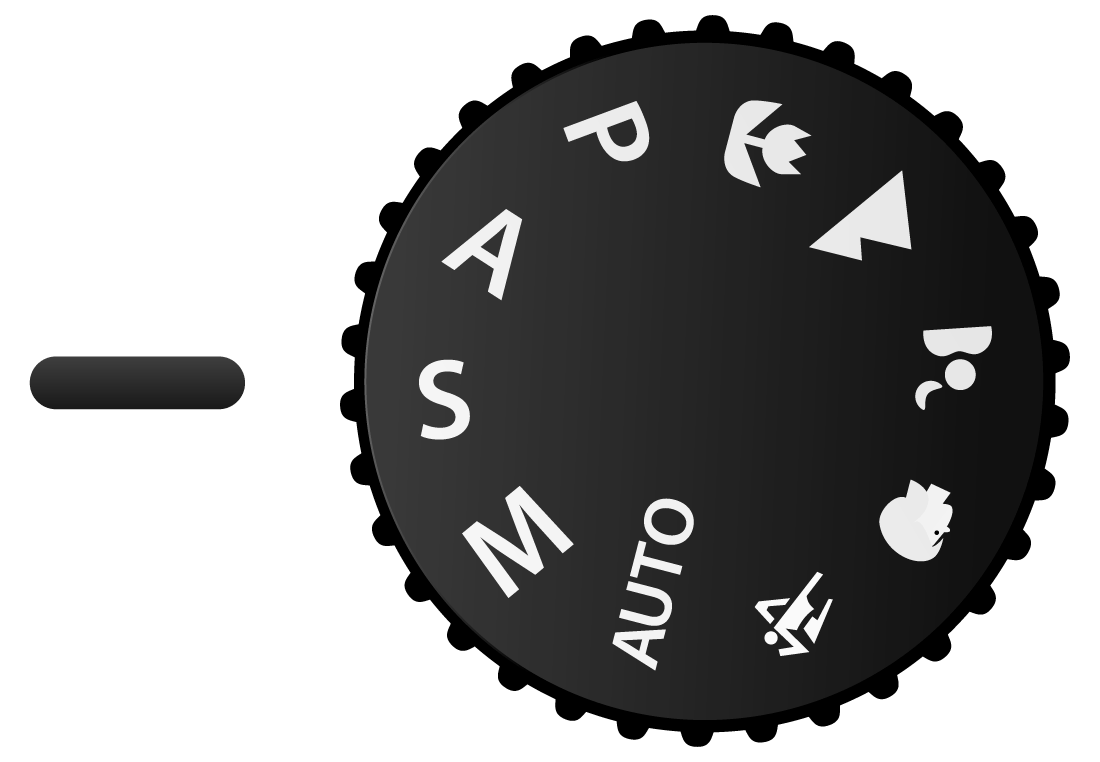
Manual Mode is a particular mode on a camera (denoted by an uppercase ‘M’ on the mode dial), which when engaged, stops the camera from applying or suggesting any camera settings.
The photographer then solely remains in charge and the only entity responsible for choosing the settings for the shot.
Let me explain this a little more.
Say you want to take an image with your phone camera. Now think about it a little carefully. Every time you take an image with your phone, all you do is point the camera towards what you want an image of and just press the shutter button. Correct?
You don’t choose any settings for the camera to use, for that particular shot, do you?
But ANY camera in the world needs at least three sets of settings defined for it to be able to record an image. They are:
- Shutter speed: The duration for which the shutter remains open to let light inside the camera.
- Aperture Value: The size of the opening/hole through which light enters the camera.
- Light sensitivity of the material used to actually record the image on.
You need to have ALL three of these working in tandem and harmony to produce a workable image. If even one of them is a little off, you are going to have some problems with your photograph.
So how does this happen? How do take an image with your phone without specifying any of the above?
The answer is easy enough. Your phone automatically chooses ALL three settings for you. In other words, you use the Automatic Mode on your phone to take images. Your camera makes all the decisions regarding the settings used to take an image.
Manual Mode is exactly the opposite of this.
When in Manual Mode, you the photographer make ALL the settings decisions. The camera just follows your commands and uses them to record the image.
Why Would I Want That?
Because that is how you make creative choices which shape your images. Plain and simple.
Get this one thing very clear. When you choose to use the Automatic Mode, your camera guarantees you one thing, one thing only, a well-exposed image.
A well-exposed image is one that has a good amount of details in the darker parts (shadows) and brighter parts of the image, simultaneously. No part of the image should be dead black or blinding white.

Here is the problem with this setup. A correctly exposed image does NOT equal a “good” image.
A “good” image comprises of a good story which is captured in a way that the story sings.
Every heard about Vivian Maier?
She was a nanny who took jaw-dropping street photographs. Here are some of the images if you want to have a look: Vivian Maier | Enigma Personified.
The images she took are great because the subject she chose and the way she photographed them were amazing. Not because you, the viewer can see details in the darker and the lighter parts of the photographs!
Image exposure should only lurk in the background. It is just the technical side of photography. The real gold you as a photographer should always strive for is great stories.
If the English alphabets were the three elements of the exposure triangle, then probably the governing rules of grammar would dictate the way to record a well-exposed image. After learning it well you can always construct grammatically ‘correct’ sentences, but that would not make you read like Shakespeare now, would it?
How To Shoot Using The Manual Mode?
So now that we have established that the Automatic Mode plastered on top of every camera they make might as well be labeled as the mode to take dumb photos, let me tell you this too.
Shooting images using the full Manual Mode or for that matter, any other semi-automatic mode does not make you a better photographer either. It just gives you the controls to be one.
Just because you are in an F1 car doesn’t mean you are going to drive like Michael Schumacher, catch my drift?
But it’s a start. Using the Manual Mode you can indeed one day, make a great image. So learning about it is absolutely worth every minute you spend on it.
My simple advice is to choose any one of the semi-automatic modes, try it out for a few days and get the hang of things. See what changes when you change a particular setting. Do you like the change or do you not?
Once you are comfortable enough with one of the semi-automatic modes such as Shutter Priority, Aperture Priority, or the P-Mode, shift to the next one and use that over a week.
I say week but you are more than encouraged to take all the time you need. The world can wait.
Whenever you start feeling at home with each of the elements of the exposure triangle and the influence they have on the image, gather up all your courage and with the flick of the dial…Manual Mode engaged!
Breathe.
Hold on now, I have some more things that are sure to help you with the transformation. Just don’t turn it back.
Semi-Automatic Modes
These modes are smack bang in between the fully Automatic and the all-out Manual Mode.
Like the name suggests they are semi-automatic, a mix of the key characteristics of Automatic and Manual mode.
If you do not already know about them, here is a short description. Read this and then I am going to show you how this is going to make your jump to Manual Mode a whole lot easier.
Shutter Priority (S/Tv) & Aperture Priority (A/Av)?
The idea is pretty simple, the ISO remains fixed at a predefined value (you get to choose anything you like), and whatever is on priority is the setting the photographer gets to change. The last control left is controlled by the camera itself to ensure proper exposure.
I know, I know went over the head right?
Let me break it down for you.
Let’s take the example of Shutter Priority first.
With the Shutter Priority engaged, the photographer has complete control over the shutter speed the camera uses to make an image.
Since the ISO value is already chosen, the only setting left to handle is the aperture value. The camera controls this. And depending on the chosen ISO value, Shutter speed, and the amount of light, chooses an aperture value which exposes the image correctly.
Let’s go over this Shutter Priority thing more time.
You choose an ISO value. This remains constant if you do not come back to it and explicitly change it.
For any image now, you are free to choose a shutter speed for the camera to use.
Depending on the ISO, the shutter speed, and the amount of available light, the camera calculates an optimum aperture value which would expose the image correctly.
When on the Shutter Priority mode, the camera continuously monitors the amount of light int the scene to make sure that the aperture value it suggests exposes the image properly. This means if there is any change in the light, the camera would take it into account and factor it in the aperture value it suggests.
Example again.
Say for a given scene you set the ISO at ISO100 and the Shutter speed as 1/125th of a second. It is a bright sunny day and there is plenty of light. Let say the camera suggested an aperture value if f/8. If you press the shutter button fully right now, the camera will use f/8 as the aperture value.
Now say a cloud comes over and darkens the scene. So now since there is less light available, the camera must readjust. Maybe this time the camera chooses a smaller aperture value such as f/4 to compensate for the lost light.
No matter what the lighting condition, the camera would always balance the ISO value and the shutter speed to come up with an aperture value which allows the image to have proper exposure.
The exact same thing happens in the case of Aperture Priority. The only difference being, this time the photographer selects the aperture value and the camera calculated the shutter speed required.
Neat isn’t it?
Down To Two From Three
As you can see for yourself, using any of the two semi-automatic modes you can effectively reduce the amount of photographer’s input for three elements down to just two.
This should and actually does make the job a lot easier. In fact, there are a lot of professional photographers who swear by either Aperture or Shutter Priority Mode depending on the type of images they take.
You keep control of the two most important elements of the exposure triangle and let the camera take care of the last one.
If you are fairly new to the world of photography and want to try out the Manual Mode but are too scared of it, semi-automatic modes are the perfect middle ground. It gives you the control you need to exercise your creative freedom without the hassle of handling it all at once.
But wait, there is more…
In Manual Mode Support
Even when you are actually in full Manual Mode there are plenty of small “tricks” and “rules” which can help you and make your job as a photographer much, much easier.
Let me just list a few of them.
Auto ISO
Auto ISO is a function most modern digital cameras offer. Once this function is engaged the camera takes over the control of the ISO value and automatically suggests a suitable value for every image shot.
The reason why I am mentioning this here is because with a little modification you can use the Auto ISO feature in conjunction with the Manual Mode to Frankenstein essentially a new mode where you choose the shutter speed and the aperture value and the camera ensures correct exposure using the ISO value.
Perfect exposures every single time.
Think of it as an assisted Manual Mode.
Let’s be real, ISO values do not influence much of the aesthetic of any image. The two primary elements of the exposure triangle, shutter speed, and the aperture value make up for nearly all of the creative decisions you need to make.
ISO just regulated the sensitivity of the image sensor and that in turn determines the amount of noise that is introduced in your image. Since most people most of the time do not want noise in their images, it is safe to say that nearly always we as photographers try to use the lowest ISO value possible.
Using the Auto ISO feature, we do just that.
The selection of the ISO value is outsourced to the camera and the camera thereafter like an obedient child chooses the smallest ISO value which lets the image be exposed correctly.
I wrote about Auto ISO and how and where to use it to harness its power the best in this post, if you feel the need to dive deeper give this one a quick read: Auto ISO | Everything You Need To Know.
Sunny 16 Rule
The Sunny 16 rule is a quick and easy, back of the envelope method to calculate the values you need for correct exposure on a bright sunny day, outdoors.
The idea is pretty simple.
You are required to use f/16 as the aperture value. After this, whatever value you choose as the ISO, you need to use the reciprocal of that value as the shutter speed.
For example, a particular set of settings make look like this:
- Aperture value: f/16
- ISO value: 200
- Shutter speed: 1/200th of a second
or for another shot which includes a slightly fast-moving subject, the settings used maybe:
- Aperture value: f/16
- ISO value: 800
- Shutter speed: 1/800th of a second
Notice that in both the set of settings, the shutter speeds we used are nothing but the reciprocal of the value we used for ISO.
Doing this, in theory, should produce well-exposed images.
You should, however, keep this in mind that this only works on brightly lit sunny days, when the subject is actually standing in the sun and NOT in the shadows.
Here is the detailed post about the Sunny 16 rule: Sunny 16 Rule | The Easy Way To Master Exposure In The Sun
Looney 11 Rule
The Looney 11 rule is very much the same as the Sunny 16 rule the only two differences are:
- It is used to shoot images of the moon, at night
- As the name suggests, we use f/11 as the aperture value instead of f/16
Conclusion
There are many more “tricks”, small and large which intend to make the life of a photographer with the Manual Mode easy.
To tell you the truth, Manual Mode might seem very daunting at first. Trying to control all three things at the same time while trying to balance the composition and the story of the image but in due time you will realize that it is much easier than you think.
It is essentially like driving a car. At first, it looks like a lot of pedals, lever, and wheels to control but as you get accustomed to it, the act of driving becomes almost second nature where you do not ever need to think to actually drive.
If you are new to photography, my simple advice would be to skip the Automatic Mode altogether and start with any one of the two semi-automatic modes.
Once you are familiar with the setup, go on to the next and then finally take the plunge and shift to the Manual Mode.
You cannot inject your creativity into your images if you stay stuck to the Auto Mode, plain and simple. To make a better image you will need to relinquish the apparent safety of the automatic zone. This is the easiest way I know.
That is all folks.
I hope this post serves as an introduction to the all beautiful Manual Mode and that I have been able to persuade you to try it once. If you want to read the longer, detailed version, please look below there should be a link there.
Anyhow, I hope I have been able to alleviate some of your dread of shifting to the Manual Mode. Just treat it like any other mode and you will be just fine.
Keep shooting beautiful.
This is now a teeny tiny blog trying to compete with the big guys. If you liked what you read, please take a second to share it. It would help me a lot. Thank you.
