This e-learning project was developed with the aim of raising awareness among web developers and businesses about web accessibility and its potential to improve the lives of people with disabilities. The project provides an engaging and interactive learning experience that covers the fundamentals of web accessibility, including the importance of accessibility, how to design accessible websites, and the tools and techniques available to ensure accessibility. This can help improve the quality of life for people with disabilities by enabling them to access information and services online, leading to a more inclusive and equitable digital world.
Audience: Web developers or any form of content developers who build content for people on the web.
Responsibilities: Instructional Design, e-learning Development, Visual Design, Basic Graphic Design, Storyboarding, and Content Development.
Tools Used: Articulate Storyline, Adobe Illustrator, Adobe XD, and Photoshop.
Note: The resolution used for this project was 1920 x 1080p. In case the e-learning module looks too big on your screen, kindly zoom out a little bit and it should work just fine.

Overview
Businesses, in today’s day and age, need to be aware of web accessibility. Web accessibility is not only a legal requirement these days but also a crucial aspect of social responsibility.
Inaccessible websites can prevent people with disabilities from accessing critical information, products, and services, leading to social exclusion and the loss of potential customers. By ensuring web accessibility, businesses can expand their customer base and improve their reputation as inclusive and socially responsible organizations.
Additionally, many countries have laws and regulations in place that require websites to be accessible, and failure to comply can result in legal consequences and negative publicity. Therefore, it is essential for businesses to be aware of web accessibility and to ensure that their websites are accessible to everyone, regardless of their abilities.
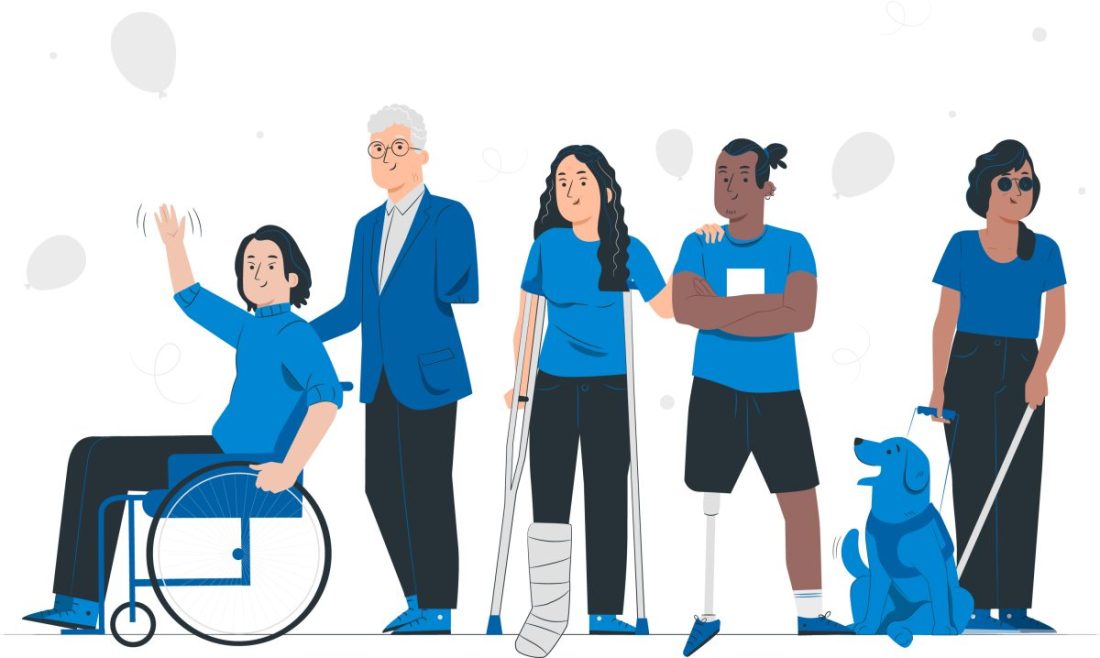
This e-learning course is a simple attempt to make businesses and web developers aware of the issues faced by disabled people and how they could help make their websites more accessible and open to all.
Process
The first step towards building this project was to gather as much information as possible on the subject. I did not have access to an SME (subject matter expert) who could guide me with this project. So, this step was crucial.
I found that the best source of information, on this topic was the World Wide Web Consortium (W3C). The World Wide Web Consortium (W3C) is an international community that develops standards and guidelines for the web. One of their important initiatives is to promote accessibility by creating guidelines for designing and developing web content that is accessible to people with disabilities.
W3C’s Web Content Accessibility Guidelines (WCAG) provide detailed instructions for making web content more accessible, including recommendations for making text, images, videos, and interactive elements accessible to users with disabilities. These guidelines help developers ensure that their websites are accessible to everyone, regardless of their abilities, and enable users with disabilities to navigate and access content online more easily. By adhering to W3C’s accessibility guidelines, developers can create a more inclusive web experience for all users.
Since my intention was to make an introductory module on web accessibility, I had to be mindful not to make the subject overwhelming for people who would be hearing about accessibility issues for the first time. So, from my notes, I distilled out the parts which would be easy to understand and explain. These topics include the problem statement (what we are trying to solve by creating awareness about web accessibility), explaining the word “disability” and its various forms, what reforms or solutions we could use to alleviate the problems, introducing W3C and the mission of the organization, and finally explain the guidelines they provide in simple English.
After I had finalized the topics and the sequence in which they needed to be introduced to the user, I created a text-based storyboard outlining the project.
The next step was to design the visual mockups. I used Adobe XD to create some slides for each section of the module. Now, I was in a position to put together the text-based storyboard and visual mockups to make a complete visual storyboard that included some programming notes too.
Since the project was about web accessibility, I had to be careful not to inadvertently introduce some accessibility issues in my own module. Keeping this in mind, I used large font sizes, used graphics that were simple and did not have any contrast issues.
In the end, I created an interactive prototype in Articulate Storyline and cross-checked it with the visual storyboard to make sure that all topics are covered and placed sequentially.
Action Map
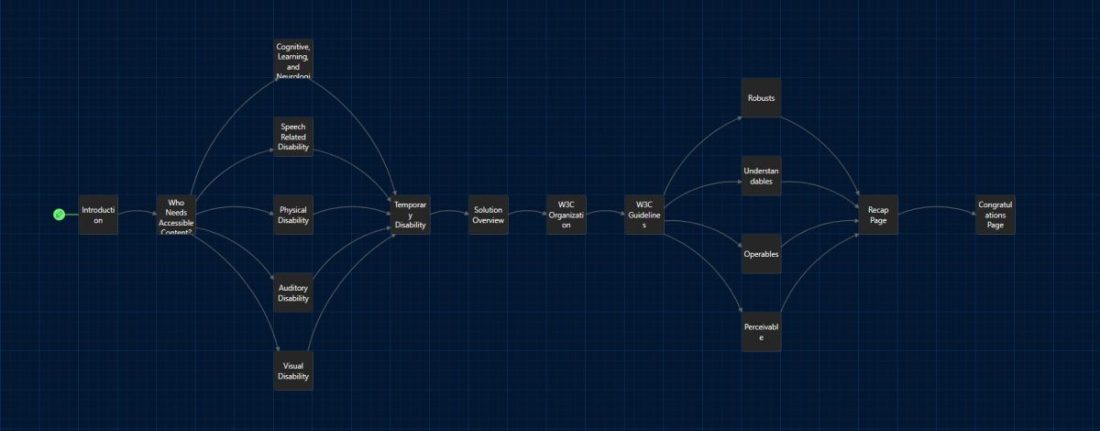
I created an action map that would chart the course the learner has to take in order to complete the module.
Once I had identified and established the problems people with disabilities face, it was a matter of explaining the root causes of such issues and working towards finding a solution. The W3C has some excellent guidelines for web developers and businesses in general to follow. I took a page from their book and applied it to this project. The intention was to make this e-learning module as simple yet impactful as possible.
Text-based Storyboard
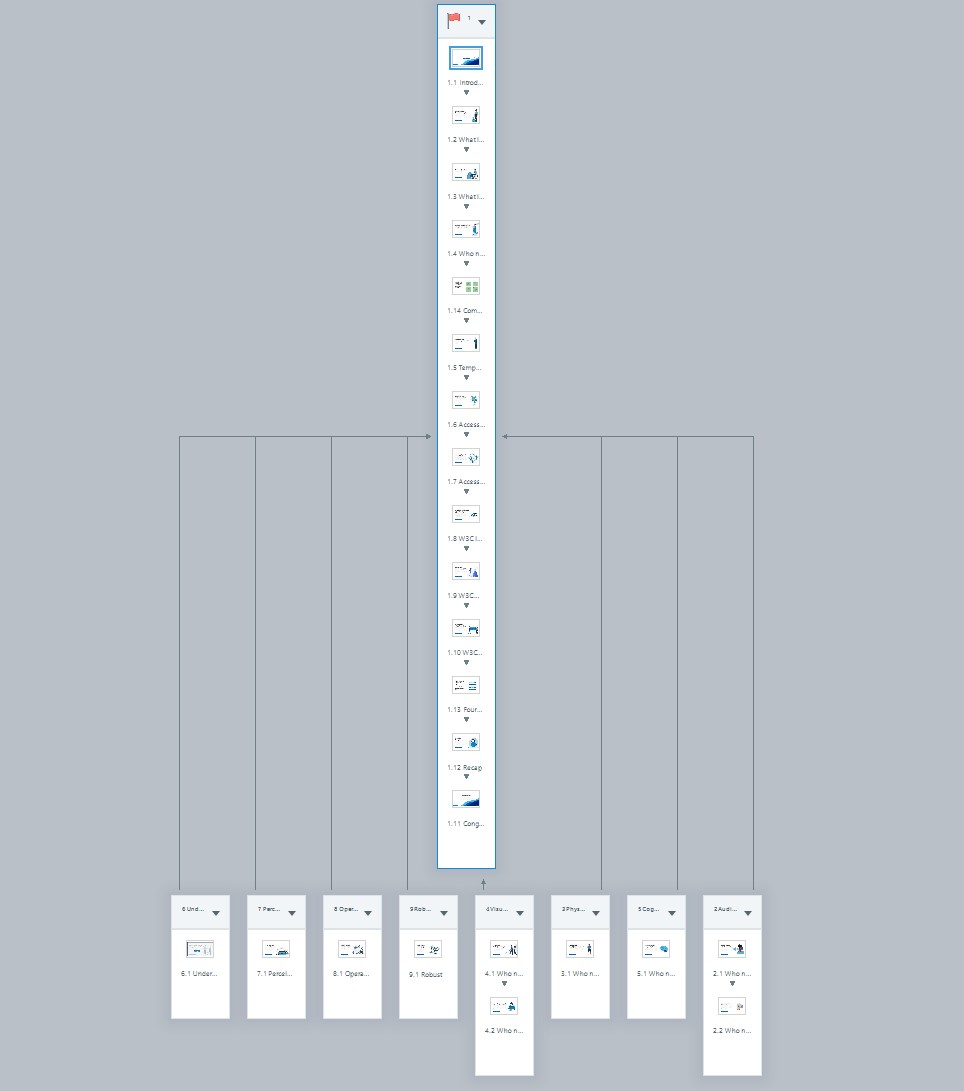
Once the action map was in place, I started to make a text-based storyboard for the project.
Each slide, I intended to create for the module was represented as a text block and then it was connected to other blocks based on application logic.
In this project, the storyboard proved to be an effective tool for creating this e-learning module as it provided a clear and concise outline of the module’s structure, content, and learning objectives. It also helped to ensure that the module flowed logically and that the content was presented in a way that was engaging, interactive, and effective for the learner.
Visual Mockups
To create the visual mockups for this project, I used Adobe XD.
First, I created a new project in XD and defined the artboard size and layout.
Then, I imported any existing branding assets, such as logos and color schemes, and started designing the interface elements for the e-learning module. This included creating wireframes of each screen or page, selecting appropriate fonts and imagery, and designing any interactive elements such as buttons or menus. I also needed to consider the user experience and accessibility, ensuring that the content was easy to read and navigate and that it met the needs of all learners.
Finally, I reviewed and tested the mockups to ensure that they were functional and effective in delivering the intended learning outcomes.
Visual Storyboard
Now that I already built the text-based storyboard and the visual mockups, the visual storyboard was relatively easy to create. All I had to do was to combine both of them.
While creating the storyboard this way, some very important points came to mind. I made it a point to note them down alongside the storyboard. This later came in very handy while putting the slides together and constructing the back-end programming that linked them all.
Interactive Prototype
Creating an interactive prototype in Articulate Storyline helped me in designing this e-learning experience in several ways.
Firstly, it allowed me to test different learning activities and scenarios before finalizing the design. This helped to identify any potential issues or gaps in the learning content and allowed me to make changes before the final version.
Secondly, the interactive prototype provided an opportunity to cross-check my notes and make sure the information served in the module was error-free, early in the design process. This helped to ensure that the learning content was accurate and effective.
Lastly, the interactive prototype allowed me to create a more engaging and interactive e-learning experience for learners, which can lead to improved learning outcomes.
Full Development
Since most of the building blocks for the project were already ready by now, all that was required was to execute the plan that was already made and iron out the issues as and when they arrive.
I used the visual storyboard as a guide for this part of the project.
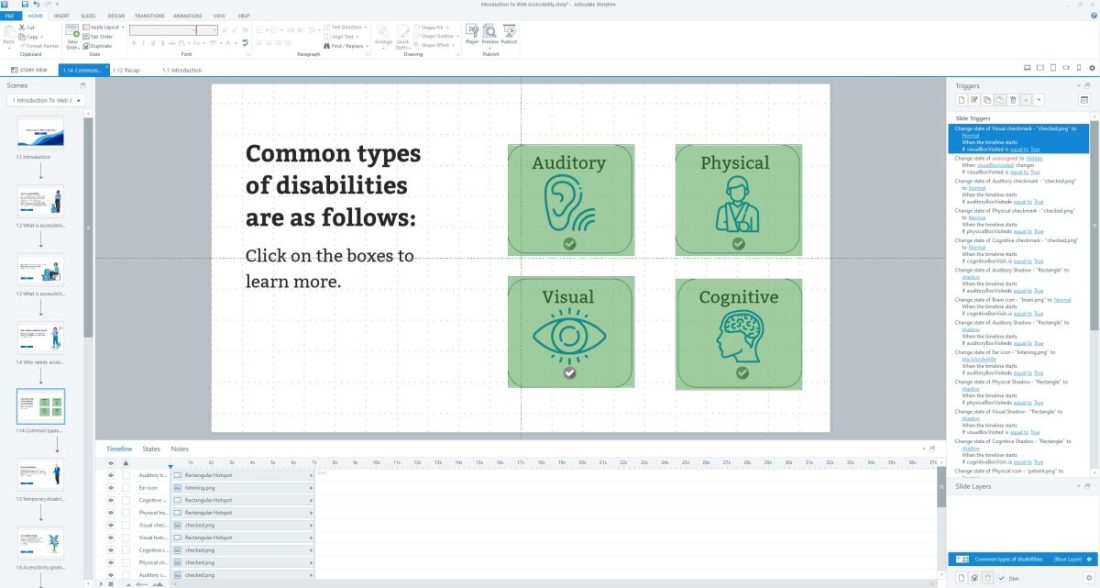
I recreated the scenes that I needed for the module and then linked them together using the notes in the visual storyboard document. I did face some issues while creating slides that talked about the various forms of disabilities. I had to go through some trial and error and in the end, I used some custom variables and triggers that would check to see if the learner had visited all of the mandatory slides and help propagate the learning experience.
Since most of the slides required a fair number of custom variables and triggers, it was very important to name all of the objects on the timeline properly and group them as required. This nomenclature and grouping system really helped in pinpointing bugs in the programming later and solving them as quickly as possible.
Results and Takeaways
Creating an e-learning course using Articulate Storyline on Web accessibility has resulted in several key takeaways.
Firstly, the process helped me to better understand the importance of web accessibility and how to design an e-learning course that meets the needs of all learners.
Secondly, going about this project in a systematic manner where each building block was carefully created before all of them were put together to construct the final product proved to be an extremely efficient way. This way each and every part of the project received the time and care to make sure that it ticked all the right boxes. It also made my job a lot less stressful since I could focus on one thing at a time and not drown in multitasking.
If I were to make this project again from scratch, I would try and find some SMEs and a feedback group and use them to make the module even more focused and accurate.
Note: The resolution used for this project was 1920 x 1080p. In case the e-learning module looks too big on your screen, kindly zoom out a little bit and it should work just fine.
