Extended ISO values. Both the low ones and the high extended ones, should you use them?
What are the good, bad and the truly ugly truths about them?
There is a lot of confusion and myths around it. And we are going to settle it once and for all, today!
If you are not in the know about these questions then fear not. I am here to explain to you, all you need to know about expanded or extended ISO values and what they mean in the real world.
So let’s begin, shall we?
Extended ISO range is a completely artificial, conjured up set of ISO values that are purely created by the camera’s software manipulations. When actually used to take an image, the camera uses the highest native ISO value available and then boosts the exposure using the camera’s image processor.
Sounds confusing? Okay, let’s step back a little.
ISO, Oversimplified
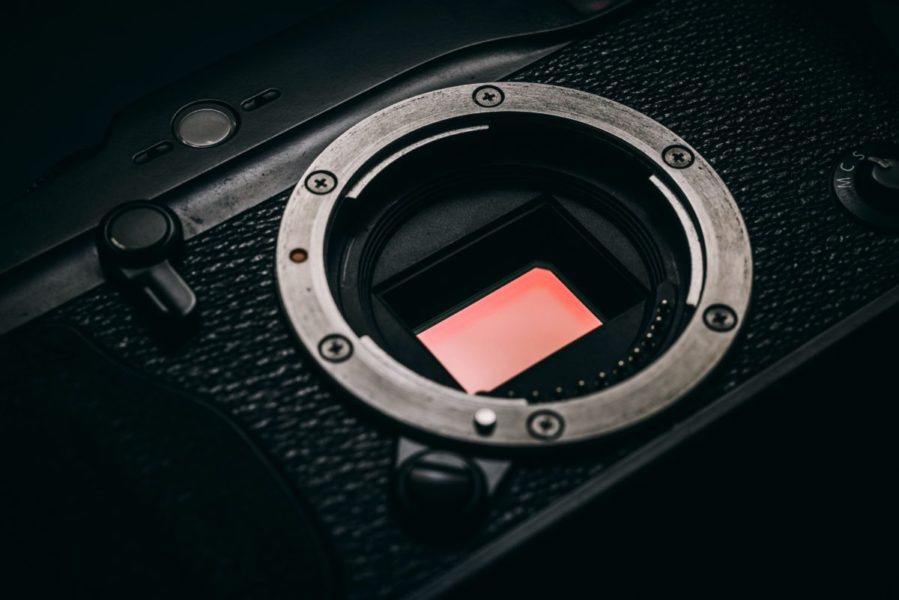
Think of the image sensor inside your camera to be one large photon receiver.
Now photons are what light is made up of. Just imagine tiny particles floating in.
When you press the shutter button, the shutter opens and light comes in through the aperture of your lens and hits the image sensor.
The sensor collects all the photons that hit it during the tiny microsecond the shutter is open for and then sends the data over to a processor. The image processor then converts the incoming data into a digital form ready to be written on to the memory card.
Now here comes the deal with ISO values.
Camera manufacturers have two primary ways using which they can incorporate the ISO factor into the exposure triangle.
- Use an amplifier circuit before the Analog to Digital Converter (ADC) measures the no of photons the imaging sensor collected in the given period. Basically amplify the analog signal that the camera records. This may introduce some noise.
- The second way is to simply multiply the no of photons the sensor collected by a factor determined by the value of the ISO used. So after every pixel has finished collecting light, the actual number of photons is then multiplied by a certain number. If you happen to use ISO 100. Then the camera would write say, the pixel at position 1000,1200: 3000. Now if you bump the ISO to 800. The camera will now say, pixel position 1000,1200: 3000 x 8. The 8 is the factor used since we use an ISO value which is three stops higher. 2³ or 2ˆ3 = 8.
If you feel too uncomfortable with the math, just ignore it.
It suffices to understand that the camera records the no of photons at each pixel site and then multiples the number depending on the ISO you used to take the photo. A higher ISO value means multiplying the actual reading with a larger number.
Having said that, even if you do not care to learn the complex math behind ISOs, you as a photographer should be able to understand the basics of F-stops and how they are calculated.
Trust me it is far easier than it looks at the onset. Just give this a quick read and you will be able to count stops of light in no time: How To Be An Exposure Calculating Ninja Right Now.
Now to mention the obvious, the process that I described above is highly simplified.
But you don’t need to drown yourself with the actual details now do you?
You are a photographer not a physicist. Knowing the basic principles of light and how it interacts with the components inside your camera is sufficient.
I personally try and stick to the creative and philosophical side of photography more than the technical aspects of it. Of course, I never miss a chance to learn what is going on inside my camera but I never let it overpower the image-making part of me.
This is just my humble opinion, take it or leave it, completely up to you.
Extended ISO: Low & High
If you have noticed carefully, most digital cameras these days offer expanded ISO values on both sides of the native values.
There are generally a stop or two under the lowest native ISO and then there are about three stops of ISO values over and above the highest native number.
Now depending on the build of the sensor chip, the materials used and the technology adopted to put it together, the image sensor will be capable of using a certain range of ISO values to produce a fairly acceptable image.
Most camera sensors these days produce excellent results for a wide range of ISO values. For example, take the new Sony A7R Mark IV. It has a native ISO range of ISO 100 to 32,000 with a Low ISO value of 50 and High Extended ISO value up to 102400.
The native ISO values, in general, are what the sensor is designed for.
Depending on which method the camera manufacturer decides to use among the two primary methods I listed above to incorporate ISO into the equation. The native ISO values should produce decent results in terms of image/video quality.
The extended/expandable ISO values are what you may call, the gimmick.
Have you ever noticed that many bloggers and YouTube video publishers use large numbers in their titles? Well, there is a reason for that. Humans are really drawn towards an exceptionally large or small number. It is just basic human psychology.
Same principle!
Camera manufacturers use this ancient yet extremely effective channel to market their shiny new product.
When the huge expanded ISO value starts to dance in front of your eyes it really has a hypnotizing effect. And it makes most gear hungry photographers reach deep into their pockets and fork out large sums of money.
Good & The Bad
I believe you get the point by now that there is a BIG incentive on the part of the camera manufacturer to advertise his product with the largest number possible printed on the box.
Large numbers do actually begets more sales.
But realistically, as you probably have already experienced, forget the high extended ISO values, you can’t even use the higher native ISO values on your camera without compromising severely on image quality.
Theoretically, you do have the large ISO values at your disposal and they will be kicked in to place at the turn of a dial. But the image that high ISO will get you will be full of grains and noise and devoid of much of the tonal range.
So is having a large ISO range to play with (native or expanded) such a bad thing after all?
The answer is NO!
Look, for ANY given scene that you want to photograph, the best possible ISO value that you can use is the least possible ISO value.
Lower the ISO value used, better the all-round image quality. It is as simple as that. And this is true for ALL cameras of ALL times, both digital and film.
Sure with the advent of better technologies in sensor manufacturing, cameras have become better with higher ISOs. When digital cameras first came in, any ISO value above ISO 500 would have a considerable amount of noise and dynamic range loss.
Today that has changed a lot.
You can easily pump up the ISO up to say ISO 3200 on any new digital camera and barely see any grains at all.
Long story short, it doesn’t hurt to have a high ISO range at your disposal.
When you can’t better the lighting, shooting fast subjects in low light conditions, this might be your only option. Yes, the image might be a little faded and with some amount of noise but you will have an image nevertheless.

For me personally, it is better to have a grainy image with less than optimal image quality than not having an image at all.
Now, how much noise you are willing to tolerate in your photographs, what you consider acceptable and how well your camera handles high ISO is all to be factored into your decision. There is no one right answer for it.
Just to make your decision making a little simpler, let me list all the factors at play here.
Whenever you increase your ISO you might face some of the following:
- Loss in the tonal range: Colors look washed out and there seems to be less vibrance overall.
- Loss in the dynamic range: The difference between the brightest and the darkest part of the image shrinks down. This may make the brighter part of the image look brighter than it actually is and/or darker part of the image darker than it actually is. Overall the image becomes less dynamic in terms of luminosity.
- Introduction of grains/noise: If the ISO is sufficiently pushed high, the camera may tend to record noise or tiny grains in the image. Especially in the darker regions of the image where the light incidence is the least.
It goes without saying that all the adverse effects mentioned above amplify more and more higher the ISO value you use.
For any modern digital camera, you will barely notice any difference at all below ISO 1000. Anything above that is completely dependent on the camera you use and the shooting conditions.
In the same vein, I should also mention that the detrimental factors also become more pronounced on the output side as well. A large print, heavy cropping on the post-production side may also lead to magnifying the minor imperfections in the image if any.
So if you print an actual size image, without cropping it, maybe you won’t find any noticeable noise in it. But if you crop out a large chunk and still print the same size as before, you may see some grains now.
Better Alternatives
Yes, I know you have been waiting around for this one. So let’s make life a little easier for you.
The main problem stems from the deficiency of light.
A higher ISO value (native or extended) should only be used as the last resort. Always try and get in more light using either a slower shutter speed or a smaller aperture value first.
I do understand that it may not always be possible for you to drop the shutter speed, especially when you are shooting a moving subject. If that is the case, see if you can make the lighting any better.
Can you switch on a few more lights? Is the subject close enough to you that you can use a flash?
Your primary objective here should be to get more light in the camera. By hook or by crook.
If you have just started taking photos and have a new camera, chances are you are still using the kit lens.
The kit lens is a great tool to get going but in the long run, you would need to upgrade to better gear. Relax I am not asking you to buy a four-figure lens now. All I am asking you to get is a small inexpensive prime lens.
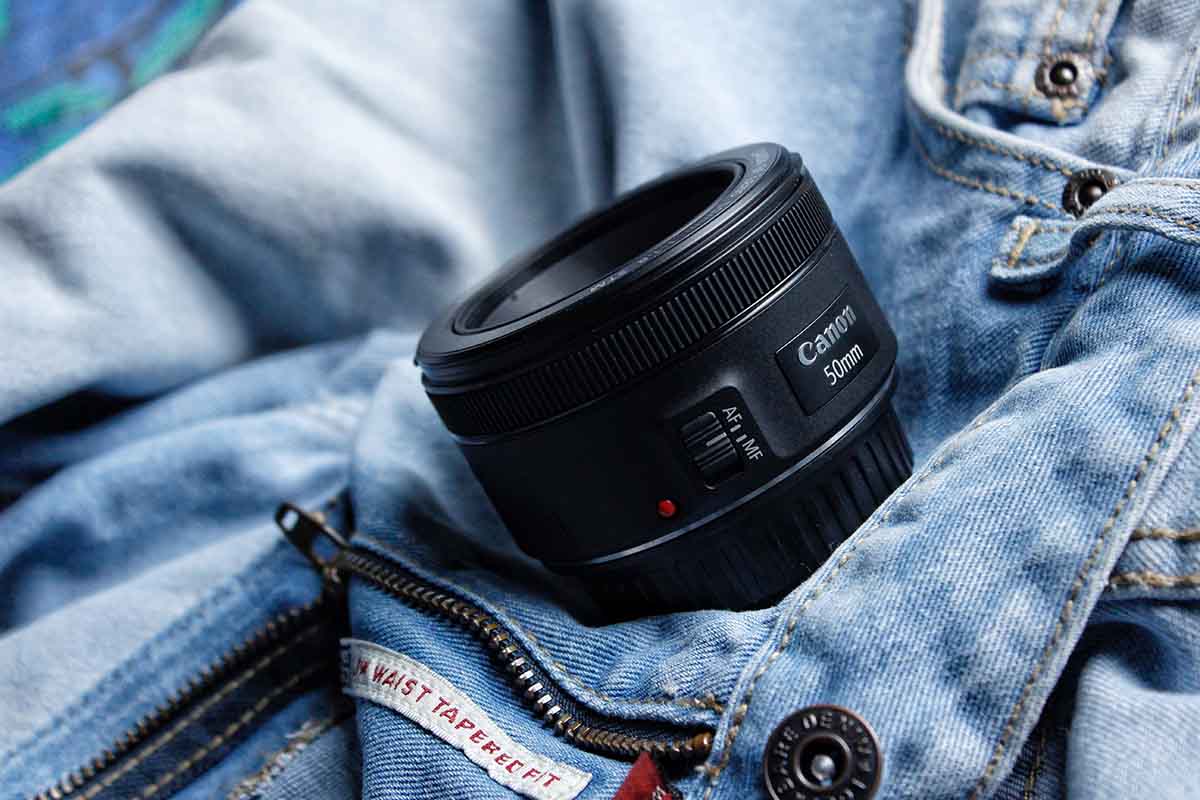
All the major camera and third party lens manufacturers have them and they are absolutely FANTASTIC for the price you pay. I will go so far as to say that they may be the best investment you can make to your photography gear ever.
Just to get your motor running, you can have a look at the 50mm f/1.8 and the 35mm f/1.8 version of the lenses. Both of them are less than ₹7000 or $100 new and will improve your image quality more than you can imagine.
Give these are a quick read and you will know what I am talking about:
- 6 Reasons Why The Nifty Fifty Is The Next Upgrade From Your Kit Lens
- Is The 35mm Lens A Good Lens For Travel Photography?
As compared to the kit lens which only allows an aperture value of f/3.5 in most cases, the much faster prime will allow the aperture value to go as far as f/1.8. That is more than two stops of light, ie, four times more than you can ever collect using your kit lens.
Again, read this article if you do not understand the math I just used here: How To Be An Exposure Calculating Ninja Right Now.
Moreover, with the smaller aperture value, the faster prime lenses also allow some delicious, creamy bokeh. Now you can have a very shallow depth of field and get some lovely defocused, blurry background.
Wondering how to get the background really silky smooth and blurry while maintaining the subject’s sharpness? Here is all you need to read: How To Get A Blurry Background With Almost Any Camera.
The last tip I have here is to use a tripod to buy you some stability which will, in turn, help you drop the shutter speed without the fear of introducing camera shake.
Shooting handheld will require a minimum shutter speed to keep the jerks away. If you follow the reciprocal rule to calculate your shutter speed, a 50mm focal length should be paired with at least 1/50th of a second shutter speed. A tripod may come in real hand here and allow you to use a slower shutter speed and in the process get some extra light in the camera.
The tripod “trick” will however only be effective when you are shooting a still subject. Say a landscape or a building. It is simply not going to work if you are trying to take pictures of a moving, dynamic subject such as a person or an animal.
The Final Verdict
Like I said before, native ISOs are what the sensor is designed to use and produce a decent and respectable result. Any ISO over and above the native ISO value is just a marketing gimmick. Invented only to plaster a larger number on the camera, so that it would sell more.
If you absolutely should know, this is what actually happens when you take a picture using one of the expanded ISO values.
Say your camera has a native ISO range of ISO 100 to 25,600, expandable up to 51,200.
If you choose to shoot using the ISO 51,200 on your camera what the camera actually does is use the highest native ISO value to take the actual shot. So, in this case, it would use ISO 25,600 to take the image and then send over the collected data to the camera’s processor which will add one extra stop of gain (25,600 to 51,200 is a stop apart) to the image using software manipulation.
So no new/extra data is recorded by the camera. Only the exposure of the image is boosted artificially and then baked into the image.
This is also by the way exactly what happens when you increase the exposure of the image in Lightroom or Photoshop, in post-production. It is all done by software.
You get it now?
If you are in the habit of shooting RAW, using the high extended ISOs makes no sense at all. You can use the highest native ISO on your camera to actually take the image and then just do the rest in post. This will give you much more leeway and latitude to make minor exposure adjustments and make life much easier for you.
Now, this is different for all the different camera manufacturers out there but when using the camera’s processor to pump up the exposure artificially, the camera’s firmware may also run some noise reduction algorithm and bake in some proprietory color science and curve adjustments into the data of the image.
You may want to avoid this and just keep the data as clean as possible.
Just shoot RAW and do the rest of the adjustments yourself, using an image editing software. This will allow much more discipline and authority over the image.
The same is also applicable to the low ISO values set.
Many cameras today offer ISO 50 as a low expanded ISO.
In this case, too the camera takes an image at the native base ISO of ISO 100 and then pulls the exposure down by one stop. However, in this case, you may get some favorable results. Here is a video by photographer Tony Northrup, which explains this in detail:
Finishing Up
There seems to be a myth out there that using the base ISO (100 in most cases) value records no noise. This is as far away from the truth as possible.
Some amount of noise/grain is captured with the image irrespective of the ISO value used. This is because of the intrinsic randomness of how light travels.
It is just that at lower ISO value, the detrimental effects of noise and grains are so less that they are barely visible and hence inconsequential.
If you want to see this for yourself, take a photo at the base ISO and then crank up the contrast as much as you can and zoom in. I am sure you will find blotches of color and tiny grain-like inconsistencies. Especially in the darker regions of the photograph.
Also as much as we all want to think that ISO values are all standardized and same across all cameras and all manufacturers. In reality, it is not.
ISO 400 can be a lot different in two different camera bodies. Although not very far away, but one to two stops of difference is fairly typical.
My advice, don’t think of ISO so much.
Just use it is a buffer to get a proper exposure. Keep control of the aperture and the shutter speed and just use ISO as the counterbalance. If your camera has it use Auto ISO. Most cameras are pretty accurate in judging the ISO you need for a specific scene.
In any case, if you are an online animal and share most of your images on platforms like Instagram and Facebook. Owing to the compression algorithms these sites apply and the smaller phone screens people are going to view your photo in. The noise levels (unless an extreme amount) will be barely detectable.
So don’t sweat ISO too much and just follow a simple rule of using the lowest one that gets the job done.
That is all folks. That is all you need to know about extended/expandable ISO values.
Hopefully, now you have a much better idea about what actually happens inside your camera and how you can use this newfound knowledge to create even better, cleaner images.
If you have any further questions, please post them down in the comments section below and I will get back to you as soon as I can.
Keep shooting beautiful!
