This is a fun one. Today, we are going to create a beautiful double exposure image using just your cellphone and Snapseed ( a Google-owned photo editing app).
One app that’s it.
So without wasting any more time, let’s dive right into it.
You can follow along and create one for yourself by the time you finish reading this.
Prep
Double exposure is nothing but an amalgamation of two or more images.
All you need is a primary image to work on and then some secondary images to create textures and tones with. As you can see, they obviously do not look very natural, but they really do catch your eye. Wherever you find one, they do stand out from the rest and by virtue of that make you halt and observe. At least for some time.
You don’t need anything for this apart from your cellphone and a well-lit space.
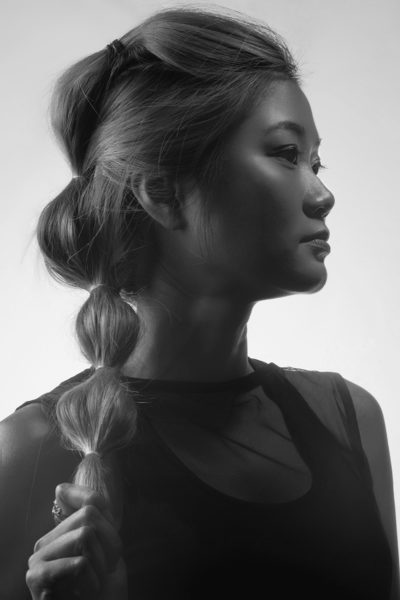
Primary Image
I am working here on a portrait. You may choose any image you want. However, I would recommend working on profiles, since they seem to work the best for this.
To make life simple for you later, there are a few things that you should take care of while shooting.
- Shoot RAW, if your phone has it; Jpeg will also work but RAW lends itself to editing better
- Wear dark clothes
- Choose the brightest background you can find. (The idea is to create the maximum amount of contrast between you and the background). A white wall, a bed sheet, a door anything will work.
- Keep the outline of your portrait as smooth as possible. This is because later while editing in the app, we would have to select areas around you. Stuff which are hard to select like hair, flying pieces of clothing will really make it hard, later on.
- If possible use some lamps to illuminate the background and make it even more bright. Brighter the background, better it is. We need as much separation as possible.
That’s it. We have our main image now.
Fire Up Snapseed
Now what we have to do is dress up the primary image we just took, and help lay over the second image on it later.
In case you do not have the app already installed on your phone, you can download it from the Apple App Store or Google Play Store. It’s owned by Google and is complete free!
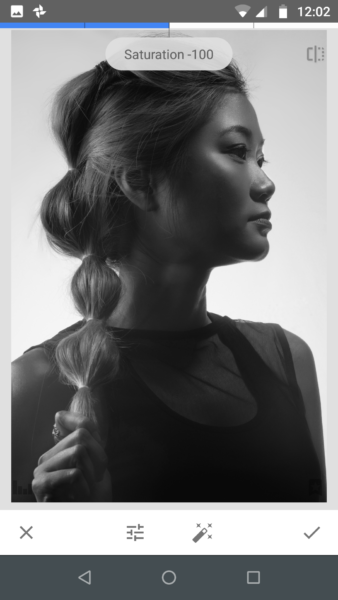
First, go to Tools > Tune Image > Saturation. Desaturate the image and then apply some contrast. The simple idea here is to add to the difference between the background and your portrait. You want to remove and reduce as many dark patches from the background as possible. You want it completely white, devoid of any color at all.
Once you are happy, click on the tick button on the bottom right and apply the changes.
Next, use the Details tabs under tools and pump up the Structure and Sharpening.
You may now crop your image to the size you want to. For Instagram, it’s the regular 5:4; you know the drill. Just a reminder here, ideally leave empty white space around you in the image. It helps bring out the double exposure effect even better.
While cropping the image you may also want to straighten it up a bit, if it was not so from the beginning.

To polish off the background one last time, Brush > Exposure > 1.0 Exposure. It is now that we have to select the white space around the portrait. Click on the eye at the bottom, it would help you see the areas which are being selected.
Now select the background as precisely and carefully as you can. Zoom into the image you have to. This is the reason why I asked you to use a primary image with smooth edges previously.
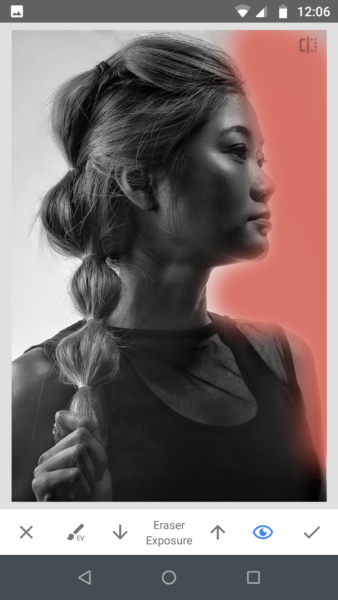
If you make a mistake here, come to the control tab at the bottom and shuffle to the Erase Exposure option. You may then use it to take away some areas which you accidentally chose.
Click the tick once you are happy. You should now have a perfectly white and clean background.
Now comes the magic.
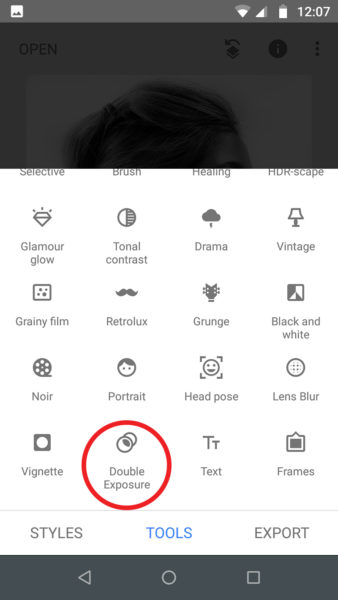
Go to Tools > Double Exposure > Choose the +image button at the bottom and then choose a suitable image from your phone’s image gallery.
Yeah, I know it doesn’ look exactly like you hoped it to be. I will fix that, just give a minute.
Click on the icon now which looks like an inverted book at the center. It would open up the blending options. Now choose the one which works the best for your image. Generally, Default and Lighten work pretty well.
Looks good?
Now for some final touches, we got to reposition the layers a little to make this perfect.
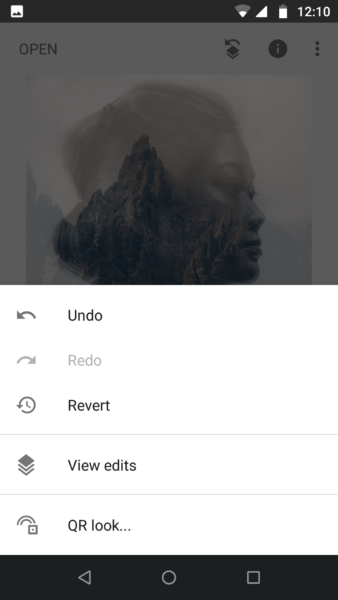
Choose the option which looks like an arrow over the stack of papers at the top. It would open up some editing options. Select View Edits. At the top now, there should be a box called Double Exposure. Click on it and choose the brush.
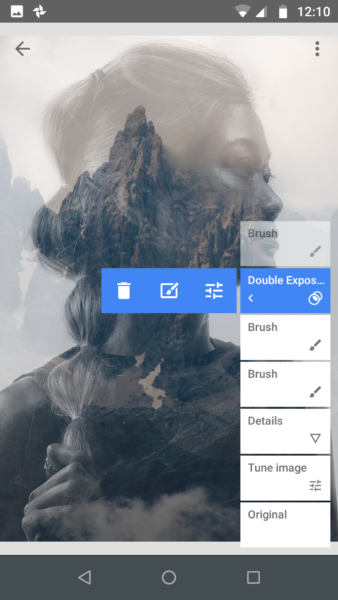
Just like you did with exposure a little while ago, now with the brush selected, choose a particular flow using the up and down arrow keys and then just paint over your portrait. You can use the eye tool again to look for the areas which are being currently selected.
This tool essential acts like a layer mask in Photoshop.
Double exposure image DONE!
Finishing Touches
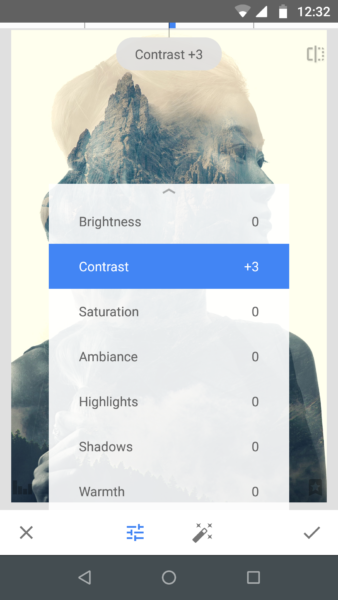
Once you are happy with the look and feel of the image, you may save it and then just apply some more Contrast and Sharpening as you add to any other normal image. Play with the settings and shape up the photo to your liking.
Enhance the effect you just created and just go crazy!
You are now free to share it with all your friends and family through Instagram, Facebook…..what have you…
Let me know how you liked this quick tip about double exposure photography. I hope you enjoyed as much I did telling you about this.
Keep shooting amazing.
This is now a teeny tiny blog trying to compete with the big guys. If you liked what you read, please take a second to share it. It would help me a lot. Thank you.

Wow!!
Beautifully explained
Thank you so much!!
Btw u look fab!